
How To Create a Blog Post Image with AI – Step by Step Guide 2026
How To Create a Blog Post Image with AI – Step by Step Guide 2026
In todays world blog posts without visuals often struggle to capture readers attention. Blog post images help break up text improve readability and make blog content more engaging. However creating high-quality blog post images used to require design skills or expensive software. Thanks to intelligence anyone can now generate professional blog post images within minutes.
Tools such as DALL·E, Midjourney, Canva and Adobe Firefly allow bloggers to create blog visuals simply by typing a description. These tools analyze your prompt. Generate blog images that match your idea.
This guide explains how to create blog post images with AI step by step even if you have no design experience.
Why Blog Post Images Are Important
Before learning how to create AI blog images it’s helpful to understand why blog visuals matter.
1. Improve Reader Engagement
Articles with blog images attract readers and keep them on the page longer. Blog images make blog content easier to understand and more enjoyable.
2. Increase Social Media Shares
When people share blog posts on platforms like Facebook, LinkedIn or X blog images make the post more eye-catching and clickable.
3. Boost SEO Performance
Search engines like Google often rank articles higher when they include optimized blog images with descriptions and alt text.
4. Strengthen Brand Identity
Custom blog images help build a visual style for your blog.
Step 1: Choose an AI Image Generator
The first step is selecting an AI tool that generates blog images. Different tools offer styles and features.
Popular AI Image Tools
1. Midjourney
Known for highly detailed blog images. Many designers prefer it for blog visuals.
2. DALL·E
A powerful tool capable of generating conceptual blog images from simple prompts.
3, Canva AI Image Generator
Best for beginners because it combines design templates and AI blog image creation.
4. Adobe Firefly
Popular among designers because it integrates with Adobe tools.
When choosing a tool consider:
- Ease of use
- Blog image quality
- Pricing
- Editing features
For beginners Canva or DALL·E is usually the option.
Step 2: Understand What Makes a Good Blog Image
Before generating blog images think about the purpose of the visual.
Blog images should:
- Represent the topic clearly
- Be high resolution
- Match the blogs style
- Be easy to understand
For example if your blog post is about marketing a good blog image might include:
- A laptop
- Charts or analytics
- Social media icons
- A professional workspace
The more relevant the blog image is to the article the more effective it will be.
Step 3: Write a Clear AI Prompt
The important part of AI blog image creation is the prompt. A prompt is a description that tells the AI what blog image to create.
- Example Prompt
- of writing:
- “Blogging image”
- Write something detailed like:
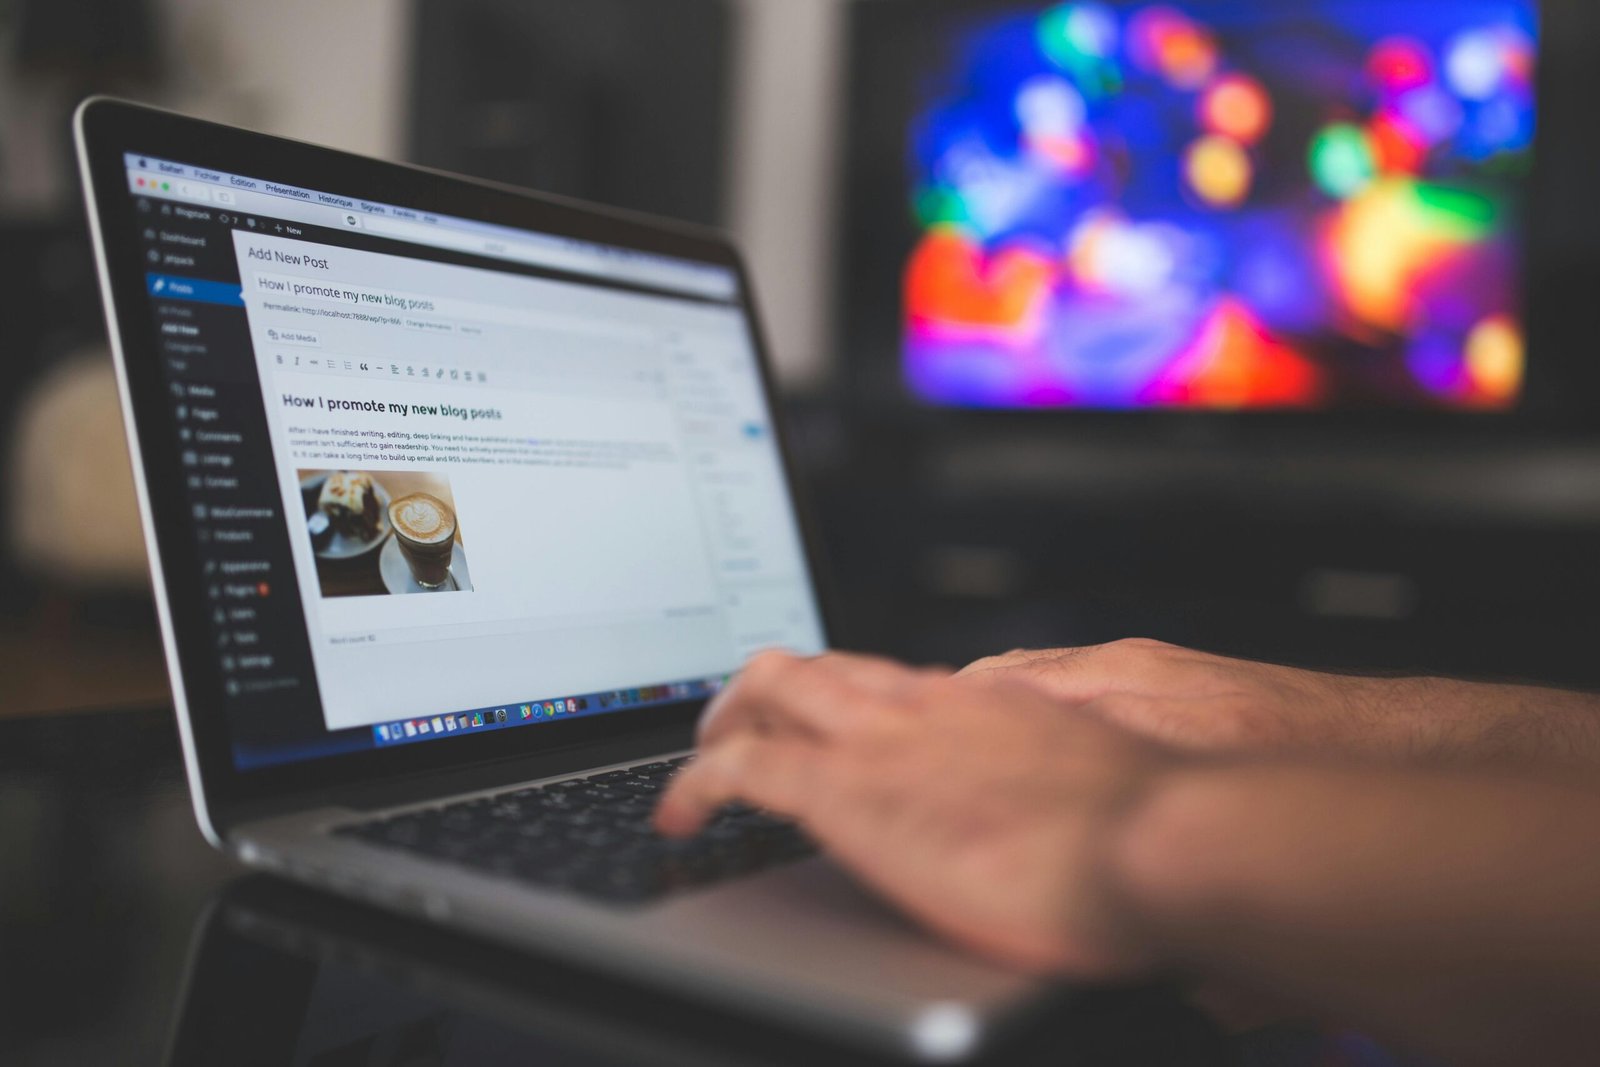
“A modern workspace with a laptop showing a blog website, coffee cup on the desk, soft lighting, professional photography style.”
Tips for Writing Better Prompts
Include:
Subject (what the blog image shows)
Style (realistic, cartoon, illustration)
Lighting
Colors
Camera angle
Environment
Example:
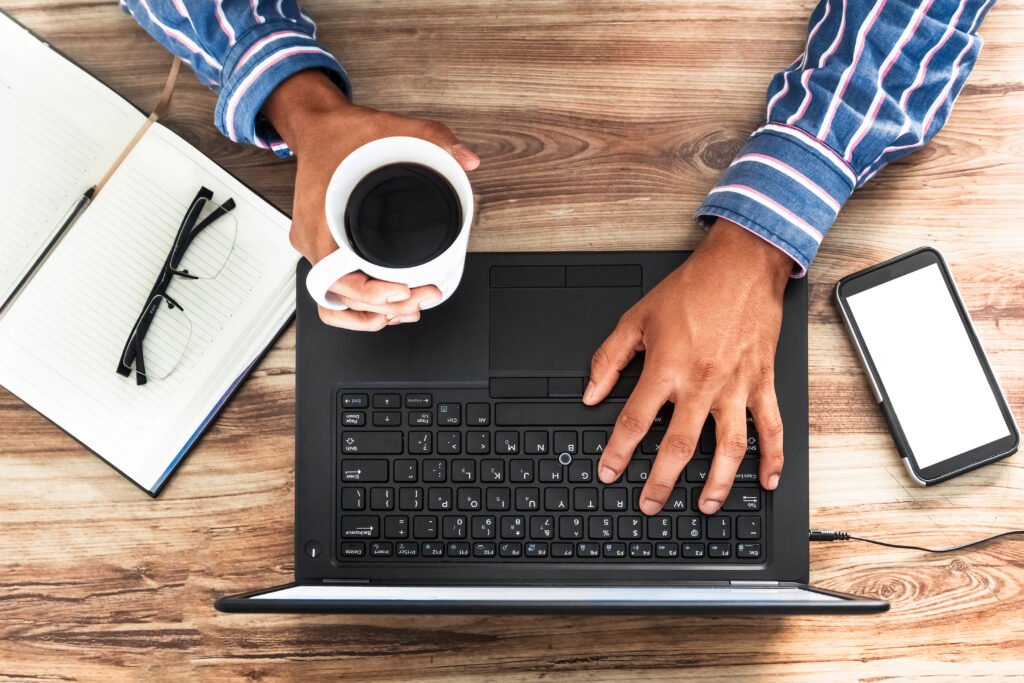
“ blog workspace with laptop, notebook, coffee cup, natural light modern desk setup, high-resolution photography.”
Better prompts create blog images.
Step 4: Generate the Blog Image
After writing your prompt:
Open your AI tool (for example Canva or DALL·E)
Paste your prompt
Click Generate
The AI will usually produce blog image options. Review them. Choose the one that best fits your blog.
Sometimes you may need to generate blog images before finding the perfect one.
Step 5: Edit the AI Blog Image
AI-generated blog images may require adjustments.
You can edit them using tools like:
Canva
Adobe Photoshop
Figma
edits include:
Adding text
You may want to add the blog title or branding.
Cropping
Crop the blog image to fit your blog layout.
Adjusting colors
Modify brightness, contrast or saturation.
Adding icons or graphics
Enhance the blog image with design elements.
Editing helps transform a raw AI blog image into a blog graphic.
Step 6: Resize the Blog Image for Your Blog
platforms require different blog image sizes.
For example:
Blog featured image: 1200 × 630 pixels
Pinterest blog image: 1000 × 1500 pixels
Instagram post: 1080 × 1080 pixels
Many bloggers use Canva to resize blog images
Optimizing blog image size ensures your visuals display correctly on all devices.
Step 7: Optimize the Blog Image for SEO
To improve search engine rankings blog images must be optimized.
- Rename the file
of:
image123.jpg
Use:
ai-blog-post-image.jpg
- Add alt text
Alt text helps search engines understand the blog image.
Example:
“AI generated image showing a blogger creating content on a laptop.”
- Compress the blog image
Large blog images slow down websites.
Use tools like:
TinyPNG
ImageOptim
Compression reduces file size while maintaining quality.
Step 8: Insert the Blog Image Into Your Blog Post
Once your blog image is ready:
Open your blog editor
Upload the blog image
Place it in sections of the article
Bloggers often add blog images:
At the beginning of the article
After major headings
To explain ideas
If you use platforms like WordPress or Blogger adding blog images is very simple.
Step 9: Maintain Consistent Visual Style
Consistency improves brand identity.
Try to maintain:
color schemes
Similar blog image styles
Consistent fonts
Similar layouts
For example if your blog uses minimalistic designs avoid overly complex graphics.
Using the style across all posts makes your blog look professional.
Step 10: Test and Improve
AI blog image creation is a process. Not every blog image will be perfect.
To improve results:
Experiment with prompts
Try multiple AI tools
Analyze which blog images attract more readers
Update older blog posts with better visuals
Over time you will develop a workflow that produces high-quality blog images quickly.
Best Practices for AI Blog Images
Here are some tips for using AI blog images effectively.
Keep blog images relevant
The blog image should always relate directly to the article topic.
Avoid overusing blog images
many visuals can distract readers.
Use high-quality blog images
Blurry or low-resolution blog images reduce credibility.
Add branding
Include logos or consistent colors when possible.
Common Mistakes to Avoid
- Writing prompts
Short prompts produce generic blog images.
- Ignoring SEO
Blog images without alt text reduce search visibility.
- Using blog images
Large blog images slow website loading time.
- Using styles
Inconsistent styles make the blog look unprofessional.
Avoiding these mistakes will improve your blogs quality.
The Future of AI in Blogging
Artificial intelligence is rapidly transforming content creation. AI tools are becoming more powerful and accessible every year.
In the future bloggers may use AI to:
generate blog images for every article
Create personalized blog visuals for readers
Produce animated graphics and videos
Design entire blog layouts automatically
Companies such as OpenAI and Adobe continue to develop advanced AI technologies that will make content creation even easier.
Creating blog images used to require design expertise. Ai has changed everything. With tools like DALL·E, Midjourney, Canva and Adobe Firefly bloggers can generate professional blog visuals in minutes.
By following this step-, by-step process—choosing the tool writing detailed prompts editing the blog image and optimizing it for SEO—you can create high-quality blog images that enhance your blog content.
Visual storytelling is becoming a part of successful blogging. The combination of AI technology and creativity allows anyone to design blog images that capture attention and improve reader engagement.
Whether you are a beginner blogger or an experienced content creator learning how to create blog post images with AI will help you produce attractive, shareable and successful blog posts.